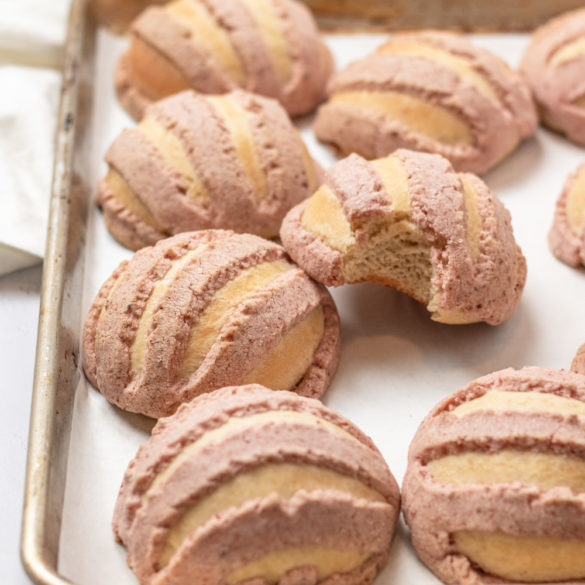
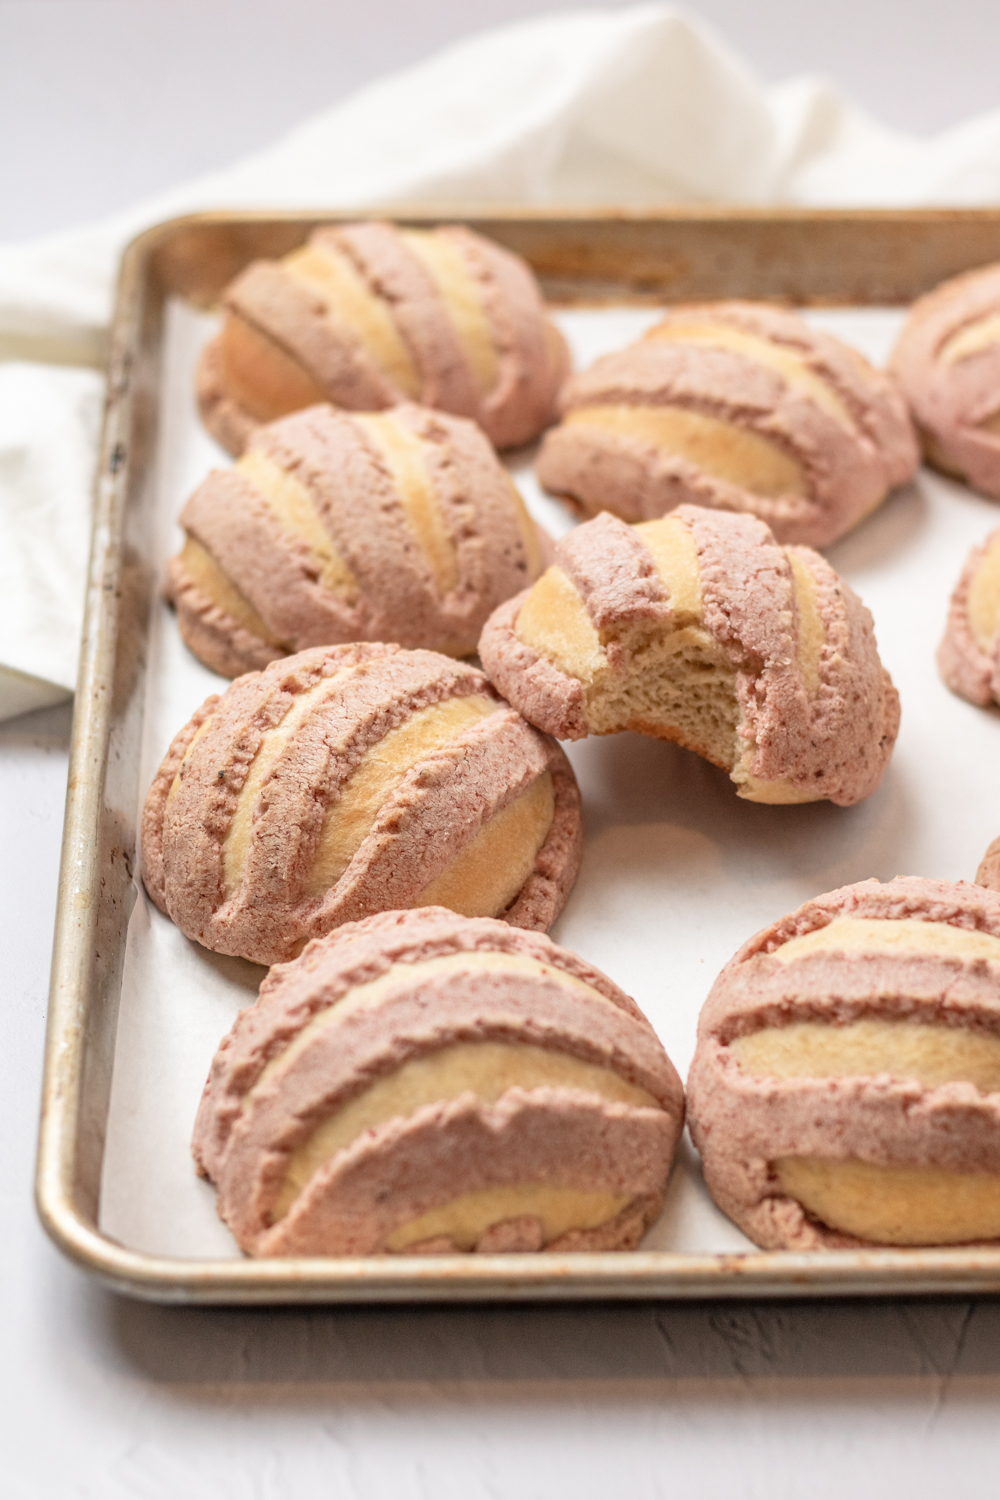
Conchas are traditional sweet bread sold at bakeries, or panaderías, in Mexico. You can also sometimes find them at your local Mexican pastry shop. They’re buttery, soft as a pillow, and slightly sweetened. These conchas are topped with powdered strawberry, giving them that pretty pink color and added sweetness. Have them for breakfast or as a sweet midday treat. Regardless of when you eat them, you’re going to want to try these strawberry conchas!
First thing you’ll notice when reading the recipe that it’s mostly in measured grams. Some bakes require a little extra precision and I find these conchas are one of those bakes. To measure the ingredients, use your kitchen scale. If you don’t have a kitchen scale, I highly recommend one! They’re a great tool to have in the kitchen. I use mine every morning to weigh out my coffee beans.
Another thing to note; make sure to carve out a few hours of your day to make these. For one, the first proof of the sweet dough typically takes two hours, longer on a cooler day. If you want to speed the proofing time along though, place the dough in the oven with the oven light on. Just having the oven light on warms the space enough to create a proofing cocoon.
Conchas are traditionally flavored chocolate and vanilla. But, due to the season and my love for strawberries, I thought it would be fun to change things up with strawberries. The tartness and added sweetness of the strawberries pairs well with the buttery and lightly sweetened bread dough. Plus, it creates the most beautiful pretty pink hue.
When you’re making these, there will be times where the dough looks really thick and chunky. Don’t worry though. As you begin kneading the dough using the dough hook in the stand mixer, the dough smoothes itself out and becomes smooth. It will be a tad tacky, but not overly sticky. If you notice that the dough is really sticky, add a tablespoon of flour and knead for another minute.
When you’re making the topping, make sure that you start by only blending together the softened butter and powdered sugar. It’s important to slowly add the flour, in small increments. Adding too much flour will result in an unworkable dough that won’t stick together and falls apart. The perfect texture is a smooth paste-like texture that easily sticks together.
There is an actual tool you can use, similar to a cookie cutter, that creates the classic concha design. But, beautiful and tasty conchas do not require this tool. You can create a similar look cutting the topping yourself. You can either slice lines in it before you place it on the dough or once it’s on the dough. I have done both ways. I liked the way they looked slicing lines in it before, yet the topping had better coverage cutting them once on the dough.
These would be fun to serve alongside breakfast quesadillas, Mexican brunch potatoes, and spiced mango margaritas for a weekend brunch spread. And who doesn’t want to enjoy little moments of normalcy and celebration right now!?


Ingredients
- 125 grams sugar
- 8 grams active dry yeast
- 120 grams oat milk, warmed in the microwave for 45 seconds
- 500 grams all-purpose flour, plus an additional 120 grams for the topping
- 3 grams kosher salt
- 3 medium eggs, at room temperature
- 100 grams unsalted butter, melted and slightly cooled, plus an additional 1/2 stick unsalted butter, softened
- 1/4 tsp vanilla bean paste
- 100 grams powdered sugar
- 3 tbsp strawberry powder (freeze-dried strawberries turned into a powder using a food processor)
Instructions
Begin by warming the oat milk in the microwave for 45 seconds. You want it warm to the touch but not boiling hot. Add the sugar and yeast. Set aside and allow the yeast to activate for roughly 5-10 minutes. You'll know it's ready when it's bubbly, bubbles equal happy activated yeast.
In a stand mixer bowl, add the flour and salt. Using a wooden spoon, mix the flour and sugar together. Add the eggs and begin mixing together. When the eggs are halfway mixed in, add the melted butter. Continue to mix all the ingredients together until it's just beginning to come together. Don't worry, it's going to be really lumpy at this point.
Attach the bowl back into the stand mixer and attach the dough hook. Add the oat milk and yeast mixture. On the second to the lowest setting, let the dough hook knead the dough for 6 minutes. Check the dough after 6 minutes. It will be a smidge sticky but not overly tacky. If it is, add a tablespoon of flour and knead for an additional minute.
Collect and hold the dough while you add 1 tsp of avocado oil to the bowl. Using your available hand, rub the oil all over the bottom and sides of the bowl. Add the dough back into the bowl and let it rest until doubled in size. This will take roughly an hour or two in most kitchens. If your kitchen is cold, you can proof them in the oven with just the oven light on for a warmer space.
Once doubled in size, punch down the down and evenly distribute it into 12 pieces. Take each piece, fold it into itself and shape it into a ball. Do this to the remainder of the dough so that you have 12 concha dough balls. Place 6 onto 2 parchment-lined baking sheets. Allow them to rest.
While the balls are resting, make the strawberry topping. Start by putting the stick of unsalted butter and powdered sugar in a large bowl. Using a hand mixer, beat together the two until it almost looks like a frosting has developed. In small batches, add the flour and blend together until smooth. In the last flour addition, also add the strawberry powder. You'll end up with a paste-like consistency.
Evenly measure out 12 portions of the strawberry topping and roll into a ball. Using a tortilla press and 2 sheets of plastic wrap, place a strawberry ball between the 2 sheets. Gently press down on the press to flatten the ball. Gently remove the strawberry topping from the 2 plastic wrap sheets to ensure it doesn't tear and place it over one of the concha dough balls. Gently press down over the strawberry topping to ensure it's attached to the dough. Do this with the remaining 11 strawberry topping balls.
Using a concha press, sharp knife, or cheese cutter, slice slits into the strawberry topping.
Allow the conchas to rest and continue proofing for an additional 30 minutes. Preheat the oven to 325F.
Bake the strawberry conchas for 10 minutes, then swap the placement of the baking sheets in the oven for even baking, and bake for an additional 10 minutes or until the bottoms are browned.
Allow them to cool for 5-10 minutes before touching or tasting them.
Enjoy!
