At the beginning of everything being shut down due to Covid-19, grocery stores were crazy. Shelves were empty, people were hoarding supplies, and acting like it was the end of the world. Along with toilet paper and Clorox wipes, bread seemed to be impossible to find. Instead of searching for bread at every grocery store and dealing with crowds and long lines, I decided to learn how to bake my own bread.
I was nervous at first. The bread seemed so daunting. So I started with a minimal yeast overnight proof white bread. After lots of loaves baked, discovering consistency of dough, and experimenting with different flours, I felt like I was getting the hang of baking simple bread. With more experience, so did my desire to bake a loaf of sourdough.
I’ve heard horror stories of baking sourdough bread and didn’t want to make those mistakes, so I did a lot of research. I watched videos on how to make and maintain a healthy starter with my brother, I read multiple blog posts and reached out to a local shop owner who’s a pro at keeping a healthy sourdough starter. (Thanks Home Ec!) With caution, I finally baked my own sourdough loaf. No disasters, but weak in flavor. I needed to develop my starter more but also needed to upgrade my proofing method. I learned a lot from that first loaf and have since been baking one at least once a week.
As a home cook, I am always still learning. There’s so much more to bread I can learn. But I have discovered some great tips and learned some valuable information on how to create a successful sourdough bread. So these are my tips and tricks when it comes to baking your own!
Make your own bread flour
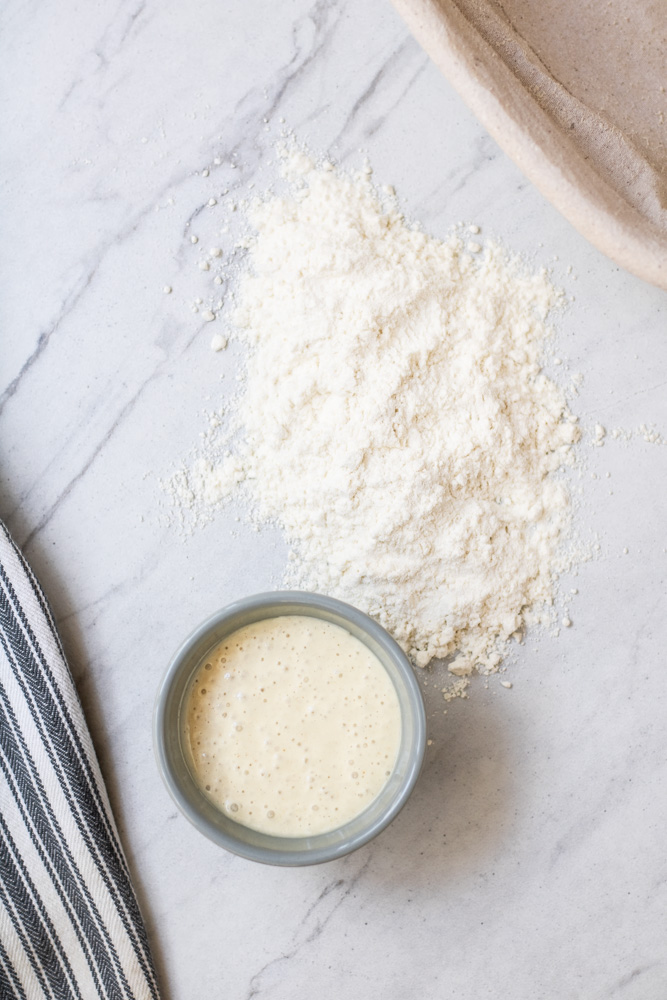
I’ve read that you can only make a well-structured sourdough using bread flour, not all-purpose. Bread flour has a higher protein count than all-purpose flour, which is essential in creating more gluten. Yet, I haven’t been able to lock down a bag of bread flour for months. So I decided that the next best alternative would be to make my own. You can easily add higher levels of protein, create your own bread flour, with the addition of vital wheat gluten. For every cup of all-purpose flour, remove 1 ½ tsp of the flour, then add 1 ½ tsp of the vital wheat gluten. Whisk together to evenly distribute the vital wheat gluten and store in an air-tight container.
Buy the right tools for the job
– If you can only buy one of these, buy a kitchen scale. This is needed for keeping your sourdough starter healthy and measuring out ingredients for the dough. But I use my kitchen scale all the time for other things too, like weighing out my coffee beans to brew the perfect cup of joe!
– A clear 4-quart food storage container is ideal for the first proof. With the sourdough dough, it’s more about creating lots of air bubbles than the dough doubling in size. Using the clear container allows you to see if your dough is creating the desired air bubbles throughout the entire dough.
– A proofing basket with a cloth liner is ideal for the second proof and shaping your loaf of sourdough. I have tried using other vessels and using other liners, but this is the best combination.
– Use a beeswax wrap instead of plastic wrap to cover your dough during proofings, like this one from Eney.
Feeding your sourdough starter
Sourdough starters are essentially just water and flour, simply growing sour yeast as it sits out on the counter. Sounds delicious right?! Because of this, it’s important to keep it healthy. To maintain a healthy sourdough, remove 50 grams of starter and toss or start a new starter for a friend. Then add 50 grams of each water and all-purpose flour. Mix together and set aside. Over the next few hours, it will grow and bubble as it feeds. You’ll want to do this a couple of hours before you begin your dough.
To test if your starter is healthy and ready to be used, make sure to test it. Add a half spoonful to a glass of water. If it floats, it’s ready to use! Happy baking.
