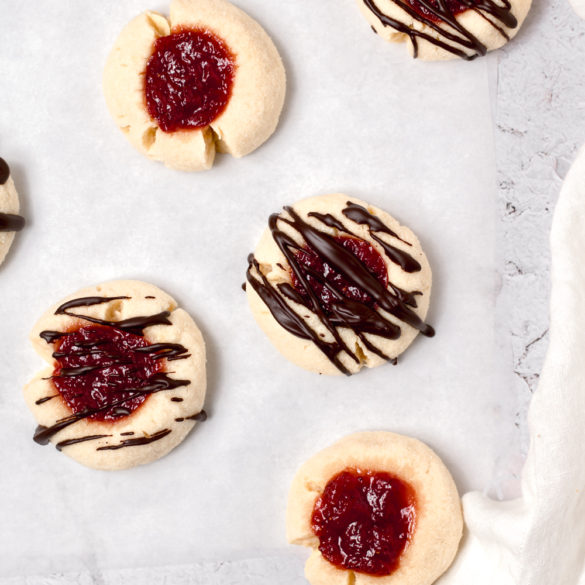
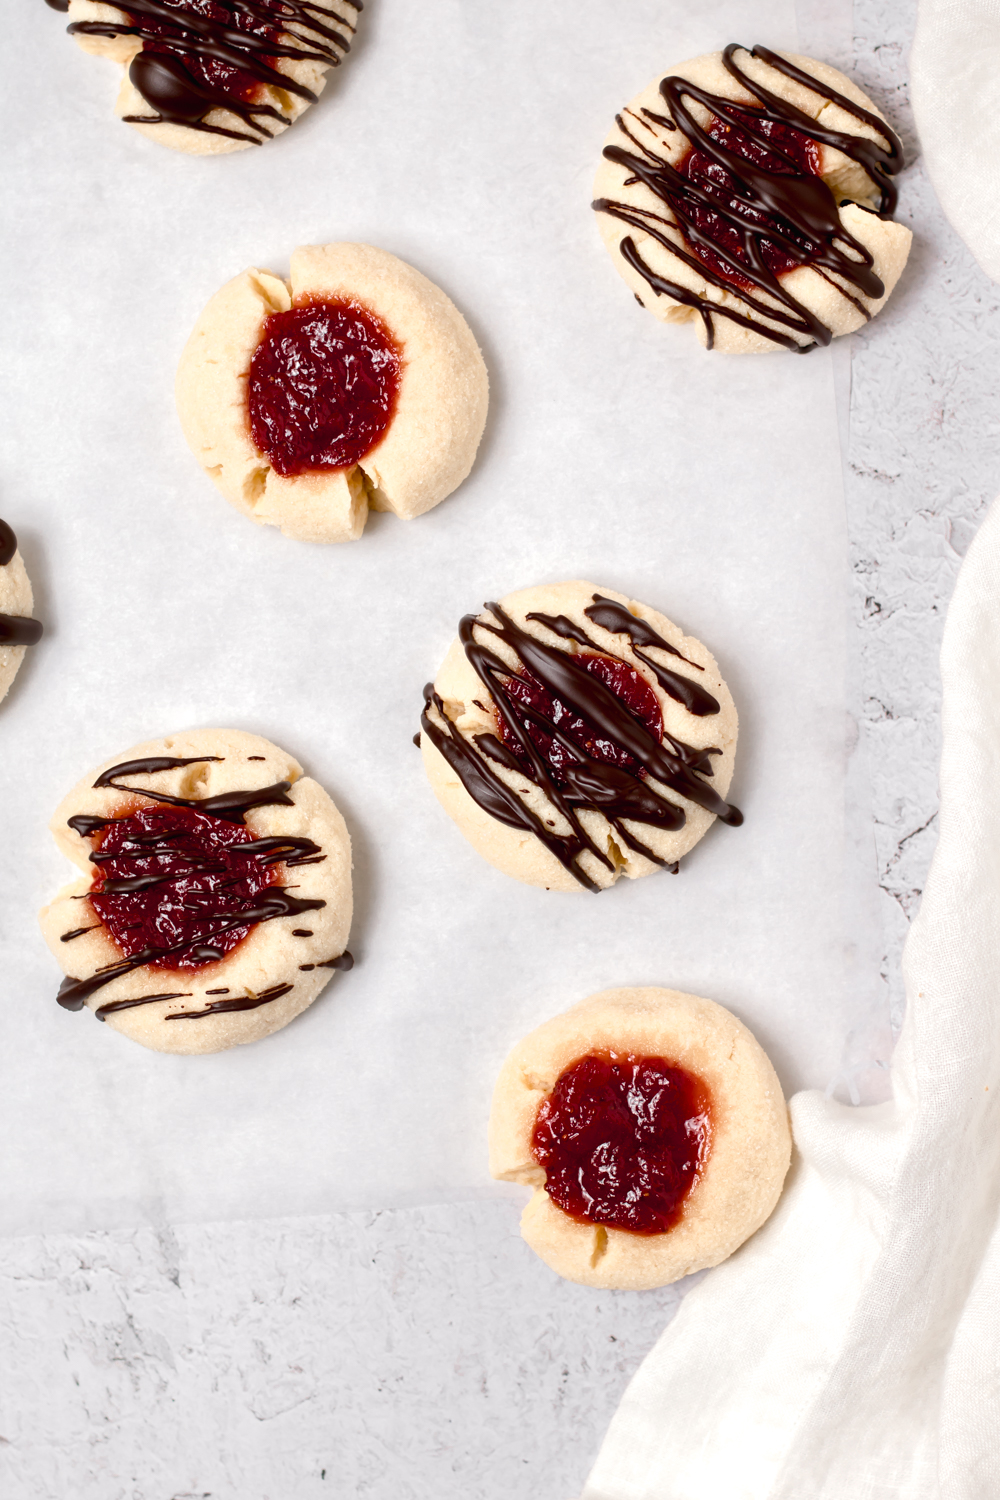
As a little girl, my family and I would go to a local Christmas market each year. The streets would be filled with carolers, firepits, freshly roasted chestnuts, and string lights. I always looked forward to getting my favorite thumbprint cookies from a local baker. Within a couple of days, I would have eaten them all and wanting more. It’s been years since I’ve been to that Christmas market, but I’ve been craving those cookies lately. So I decided to change things up a bit this Valentine’s and make my own take on the cookie, a chocolate covered strawberry thumbprints.
What I remember most of these cookies was how buttery soft they were. They practically melted in your mouth with each bite. What I also remember was the decadent filling. We would buy the raspberry jam and chocolate varieties, not being able to determine which was my favorite. So why not mix the fruit and the chocolate, giving you the best of both worlds. These thumbprint cookies are filled with homemade strawberry jam but could be replaced with high-quality store-bought strawberry jam as well.
When making the dough, you’ll notice that it’s really crumbly for the first 30-60 seconds once you add the flour. Don’t worry though. Allow the stand mixer to continue mixing and you’ll notice that the dough comes together nicely after another minute. I also highly recommend using a cookie scooper to ensure all of the chocolate covered strawberry thumbprints come out evenly. This goes for using the measuring spoon to create the ‘thumbprint’ as well. Also, make sure not to overbake the cookies. You’ll know they’re done when the bottoms are beginning to turn lightly golden-brown. To check, take one out using a spatula and check the bottom. If it’s lightly golden-brown, take them out to finish baking on the baking sheet. If they’re still pale, continue to cook them for another minute or two.

Ingredients
- 1 cup unsalted butter, softened, plus an additional 1 tbsp for the chocolate
- 2/3 cup sugar, plus an additional 1/4 cup for the sugar coating
- 2 egg yolks, at room temperature
- 1/2 tsp vanilla extract
- 1/2 tsp almond extract
- 1/4 tsp salt
- 2 1/3 cups flour
- 1/4 cup strawberry jam
- 1/4 cup dark chocolate chips
Instructions
Preheat the oven to 350F degrees.
Begin by creaming the butter and sugar in a standup mixer for 2-3 minutes. Scrap the butter and sugar mixture down the sides to ensure your mixture is combined. Next, add the egg yolks, mix for a mixture, then scrape down the sides again. Add the salt, vanilla, and almond extract. Mix until combined. Add the flour and mix at the lowest speed. Mix until the dough fully comes together, usually takes 2 minutes.
Using a large cookie scooper, scoop the dough out and roll each into a ball. Roll each ball into the sugar and place onto a parchment-lined baking sheet. I put 8 on each baking sheet.
Using your 1/2 teaspoon measuring spoon, gently press a dip at the top into each cookie. Add 1/4-1/2 tsp of the strawberry jam to each dip you made.
Place the two baking sheets in the oven and bake for 10 minutes. Switch the trays and bake an additional 8-10 minutes. The cookies will look pale, but you want the cookie to be slightly golden brown on the bottom. Remove them from the oven and allow them to finish cooking on the baking sheet for 10 minutes.
Allow them to cool for an additional 10 minutes.
Melt 1/4 cup dark chocolate chips, I like to use Enjoy Life, and 1 tbsp of the unsalted butter together in a microwave-safe bowl. Start with 30 seconds, stir, then an additional 20-30 seconds. Drizzle the chocolate over the cookies.
Allow the cookies to set for an additional 15 minutes to allow the chocolate to set.
Enjoy!
