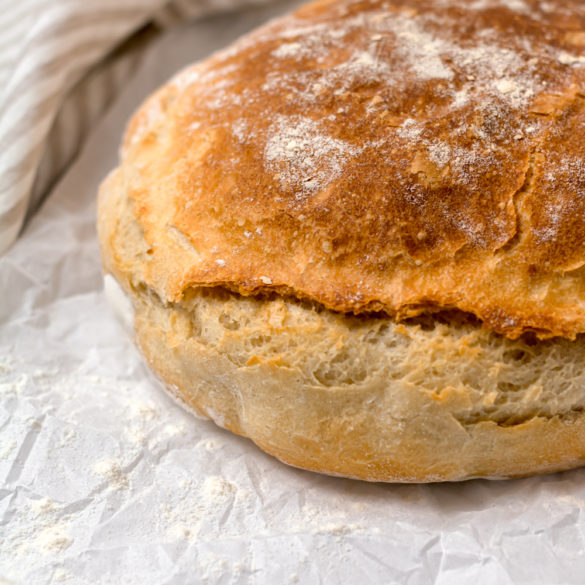
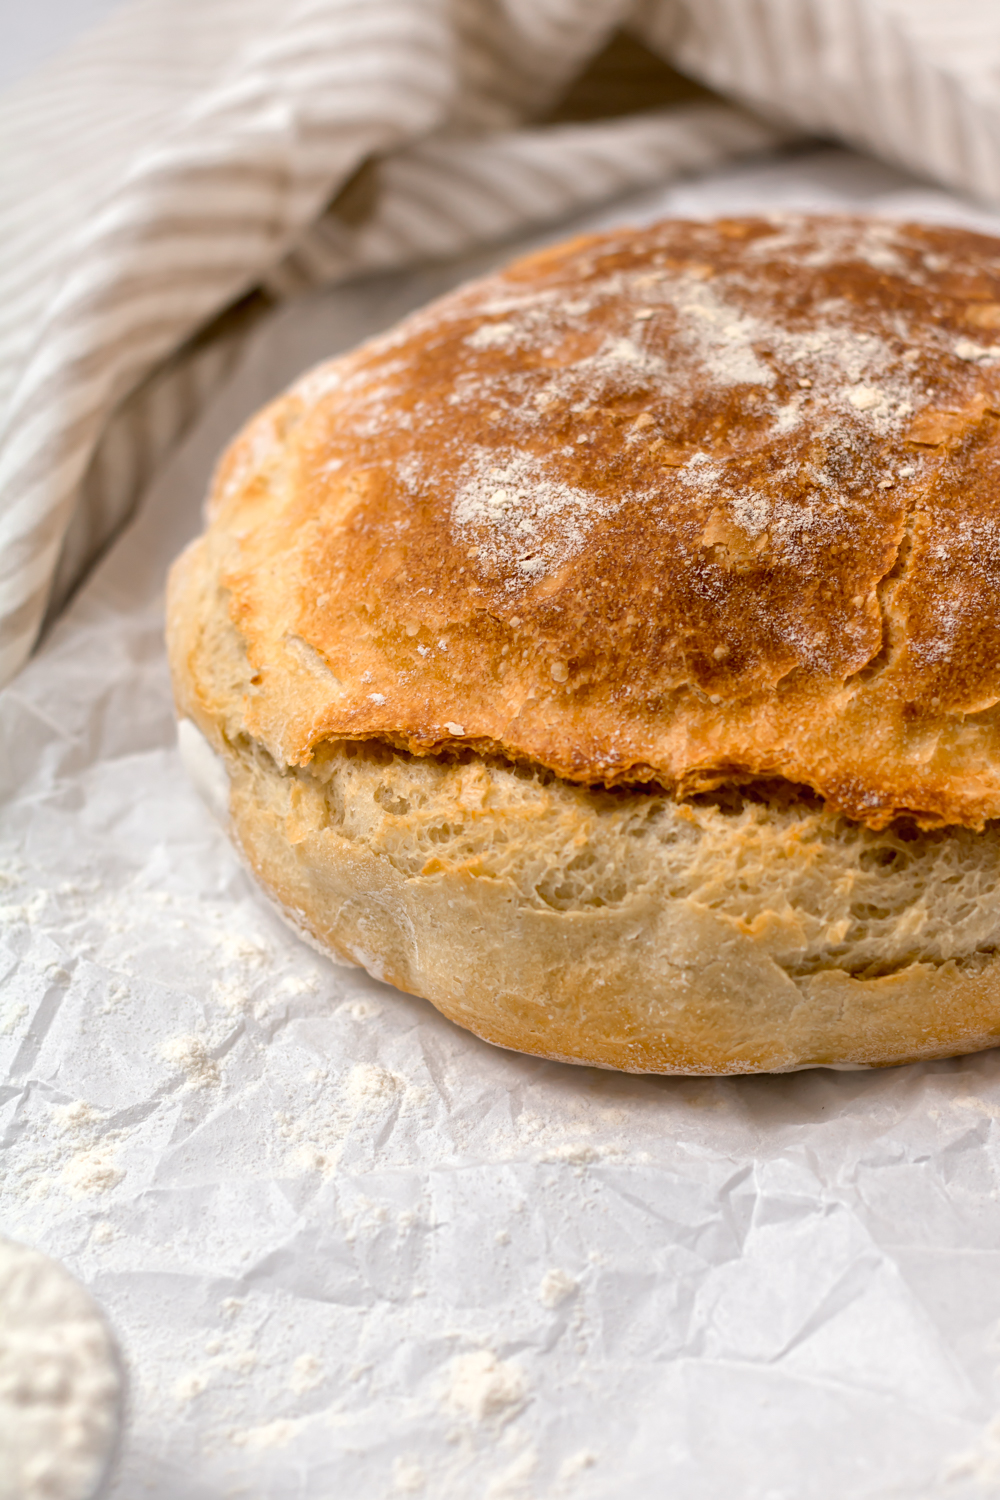
This last year I made a LOT of bread. And when I say a lot of bread, I’m talking at least two loaves a week. And although I was making my no-knead needed bread at the beginning of the pandemic, I had to find a quicker way to make fresh bread. That’s when my quick no-knead bread became my new go-to homemade bread recipe. I’m still making bread twice a week, but it’s taking far less time to make.
What I love about this bread is that the ingredients are so simple, yet the bread is so delicious. It’s a rustic crusty bread that’s great as your morning toast, sandwich bread, or garlic bread. We go through our quick no-knead bread pretty quickly in our house because we have a slice each morning with breakfast.
This bread doesn’t require kneading, but that doesn’t mean you mix the dough and magically get bread. You want to watch the dough in the mixer, ensuring you don’t over or undermix the dough. Undermixing the dough can result in bread with minimal structure and gluten while overmixing the dough can lead to a tough and dense bread. Proofing the dough is also an important factor in making the bread. You do NOT, I repeat, do NOT want to overproof your dough. Overproofing can lead to a dense and deflated loaf of bread.
When baking the bread, it’s essential that the lid is on the dutch oven for the first thirty minutes. The steam helps create that irresistible crust we all love about bread. When you remove the lid, you’re allowing the crust to get that extra crust while ensuring the remainder of the bread is cooked through. I typically bake my bread for ten minutes with the lid off to create the perfect crust. Depending on your oven though, it may take additional time. You can bake up to fifteen minutes without the lid on.
Please make sure to allow your loaf to rest for at least an hour before slicing. The bread is continuing to cook internally at this point. But it’s also cooling, making it easier to slice the bread without completely destroying the structure and integrity of it. When you do slice it, store the extra bread slices in the freezer to use later.

Ingredients
- 1 5/8 cup warm water, 105-110F
- 2 1/4 tsp active dry yeast
- 1 1/4 tsp salt
- 3 cups flour
Instructions
Using a stand mixer and the dough hook, add the warmed water and then yeast. Allow the yeast to sit on the water for five minutes. Add the flour and then salt.
On low, mix the ingredients for three minutes. Check the dough at this point. If most of the dough is sticking to the bottom of the bowl, add another two tablespoons of flour. Allow the mixture to mix another one minute. Check the dough again. Continue to add two tablespoons of flour at a time until little of the dough is sticking to the bottom of the mixing bowl and the dough is stretching well off the sides.
Cover the bowl with a beeswax cover or bread towel until double in size, roughly 30 to 60 minutes (unless it's cold out, then it could take longer).
Place a sheet of parchment paper on the counter and sprinkle it with flour. Gently pour the dough onto the floured surface. Cover your hands in flour and work the dough, folding itself under itself, until forming a ball. Set the ball back on the parchment paper, sprinkle the flour on top, and cover with the beeswax cover. Allow the bread to rise a second time.
Preheat the oven to 450F degrees.
While the oven is preheating, add a covered dutch oven to the oven to allow it to slowly heat.
Once the oven is preheated and bread has risen, roughly 30 minutes, remove the dutch oven from the oven. Holding the parchment paper, add the parchment paper and balled dough to the dutch oven. Cover the dough with the lid and add it to the oven. Allow the bread to cook, covered, for 30 minutes.
Remove the lid, be careful, it'll be very hot. Allow the bread to cook an additional 10-12 minutes uncovered.
Remove the bread from the dutch oven and allow it to cool on a cooling rack for at least 1 hour.
Slice and enjoy!
Store sliced bread in the freezer and defrost or toast.
